Motivation
Just to create something that I can use to create fun video and artwork to share online.
System Requirements
This project requires a system with a good enough graphics card to run OpenGL 3.3 or greater. It will not work on lower specs. Please read this entire document before using the software. On macOS, you may have to grant the Terminal or the application privileges to use the webcam and capture the desktop. This program requires a significant amount of RAM. If you wish to run with lower RAM, set the size of the memory pool with the -8 flag.
Example:
acidcamGL -d 0 -c 1920x1080 -r 1920x1080 -u 30 -8 200Notes for Windows:
- The Windows version of this project requires the Visual Studio 2019 Runtime download from Microsoft.
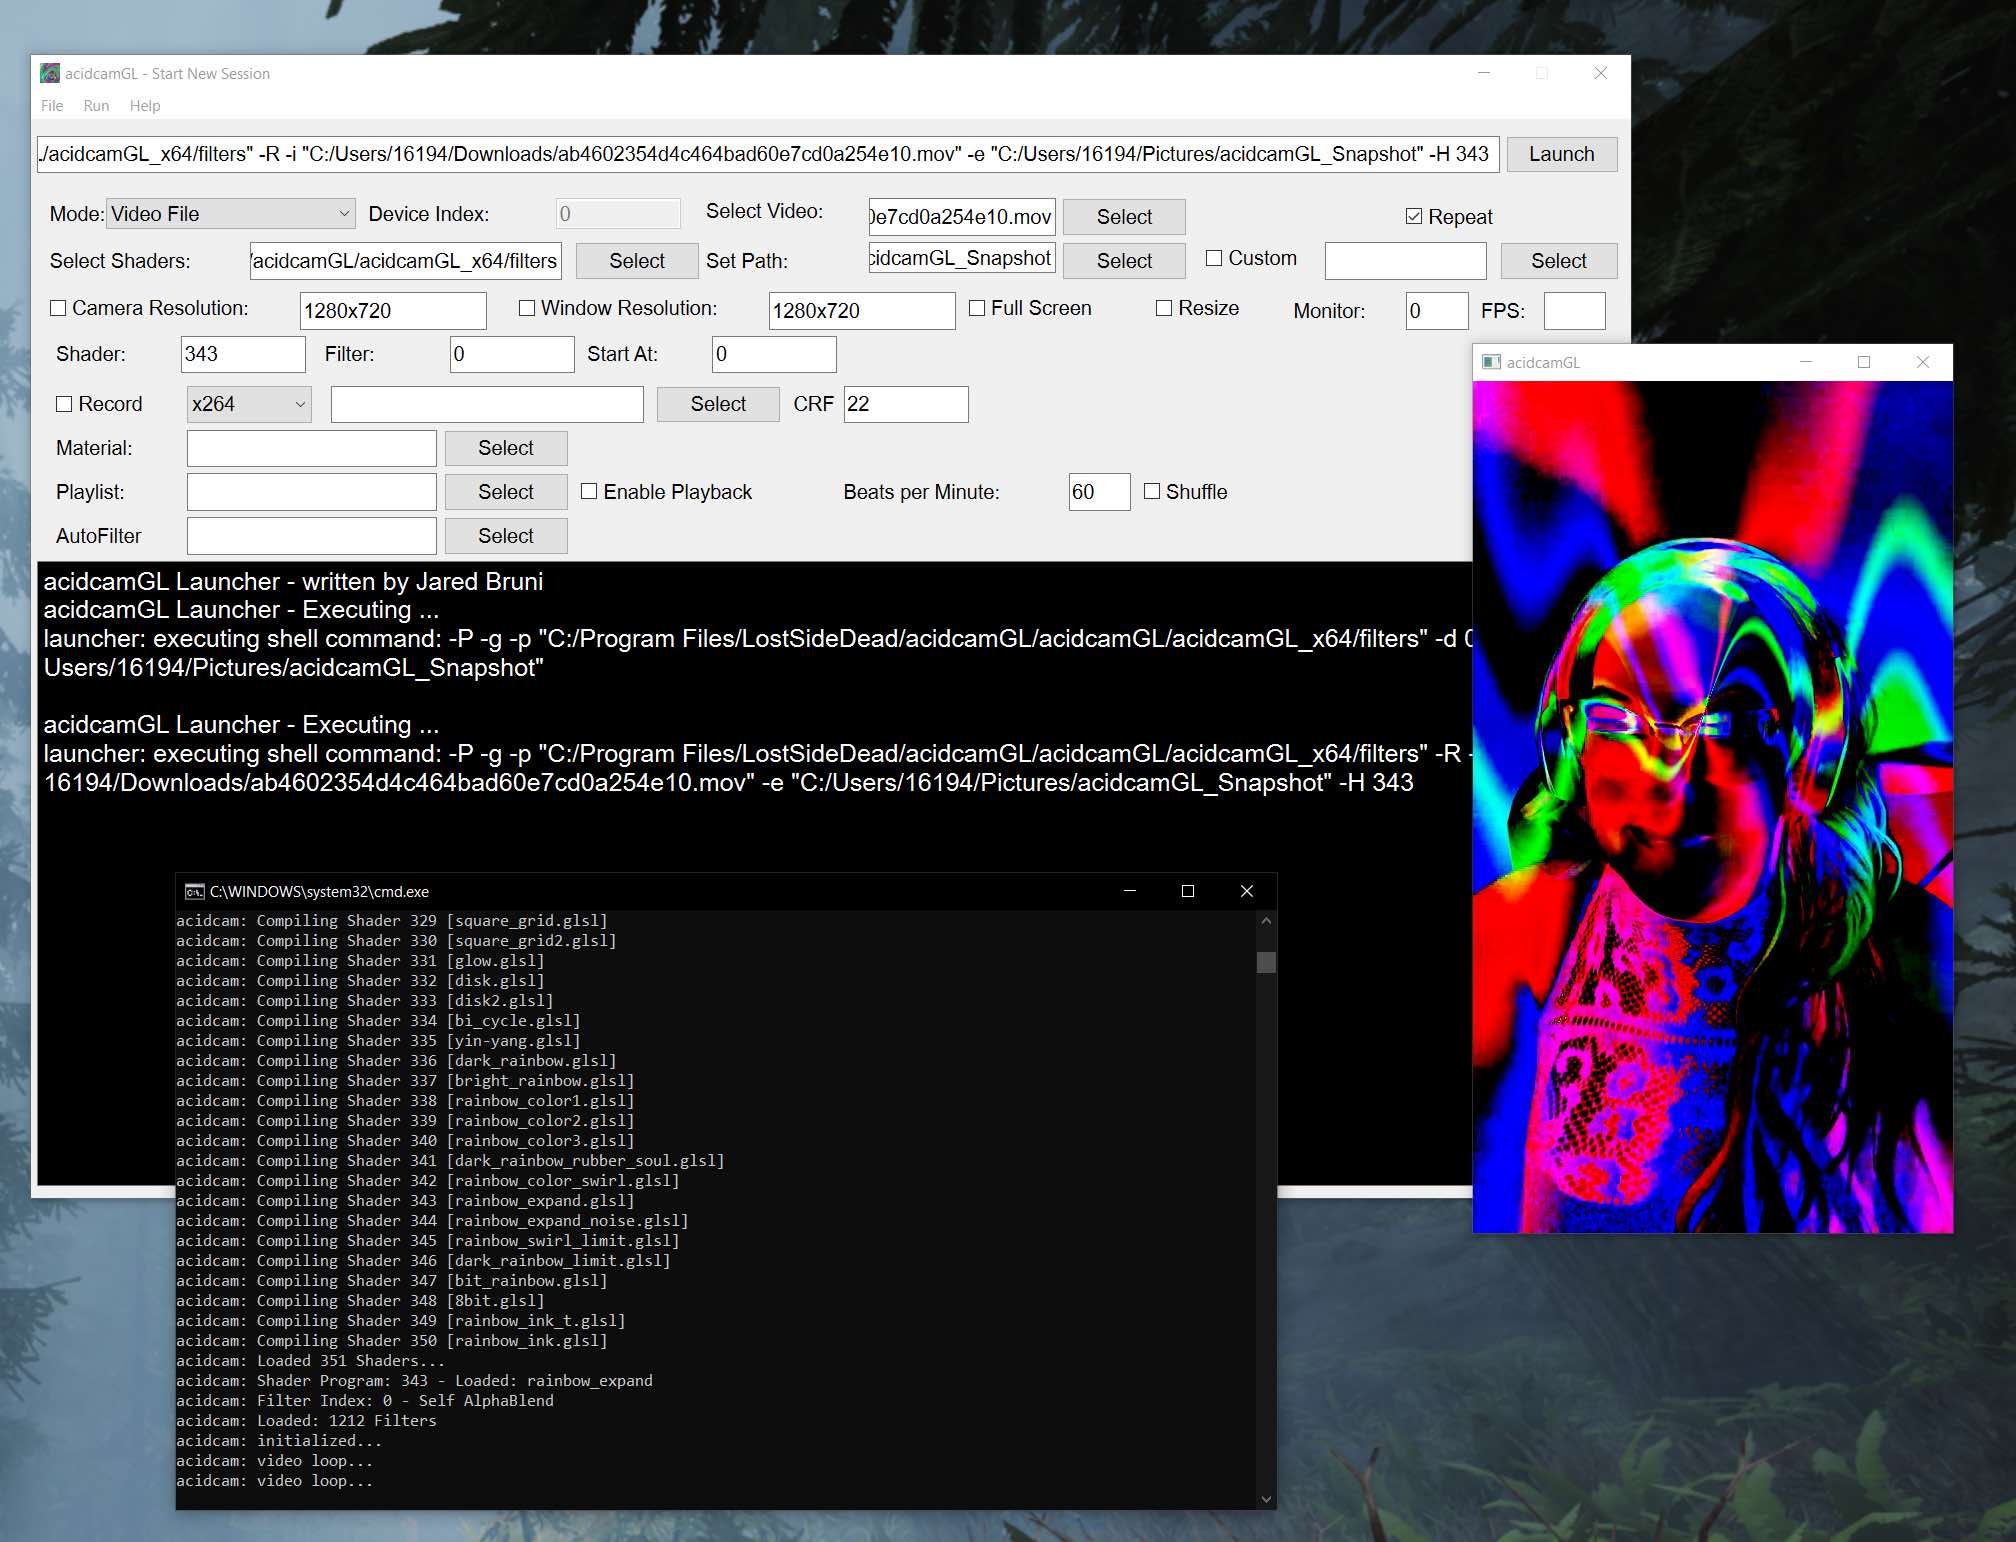
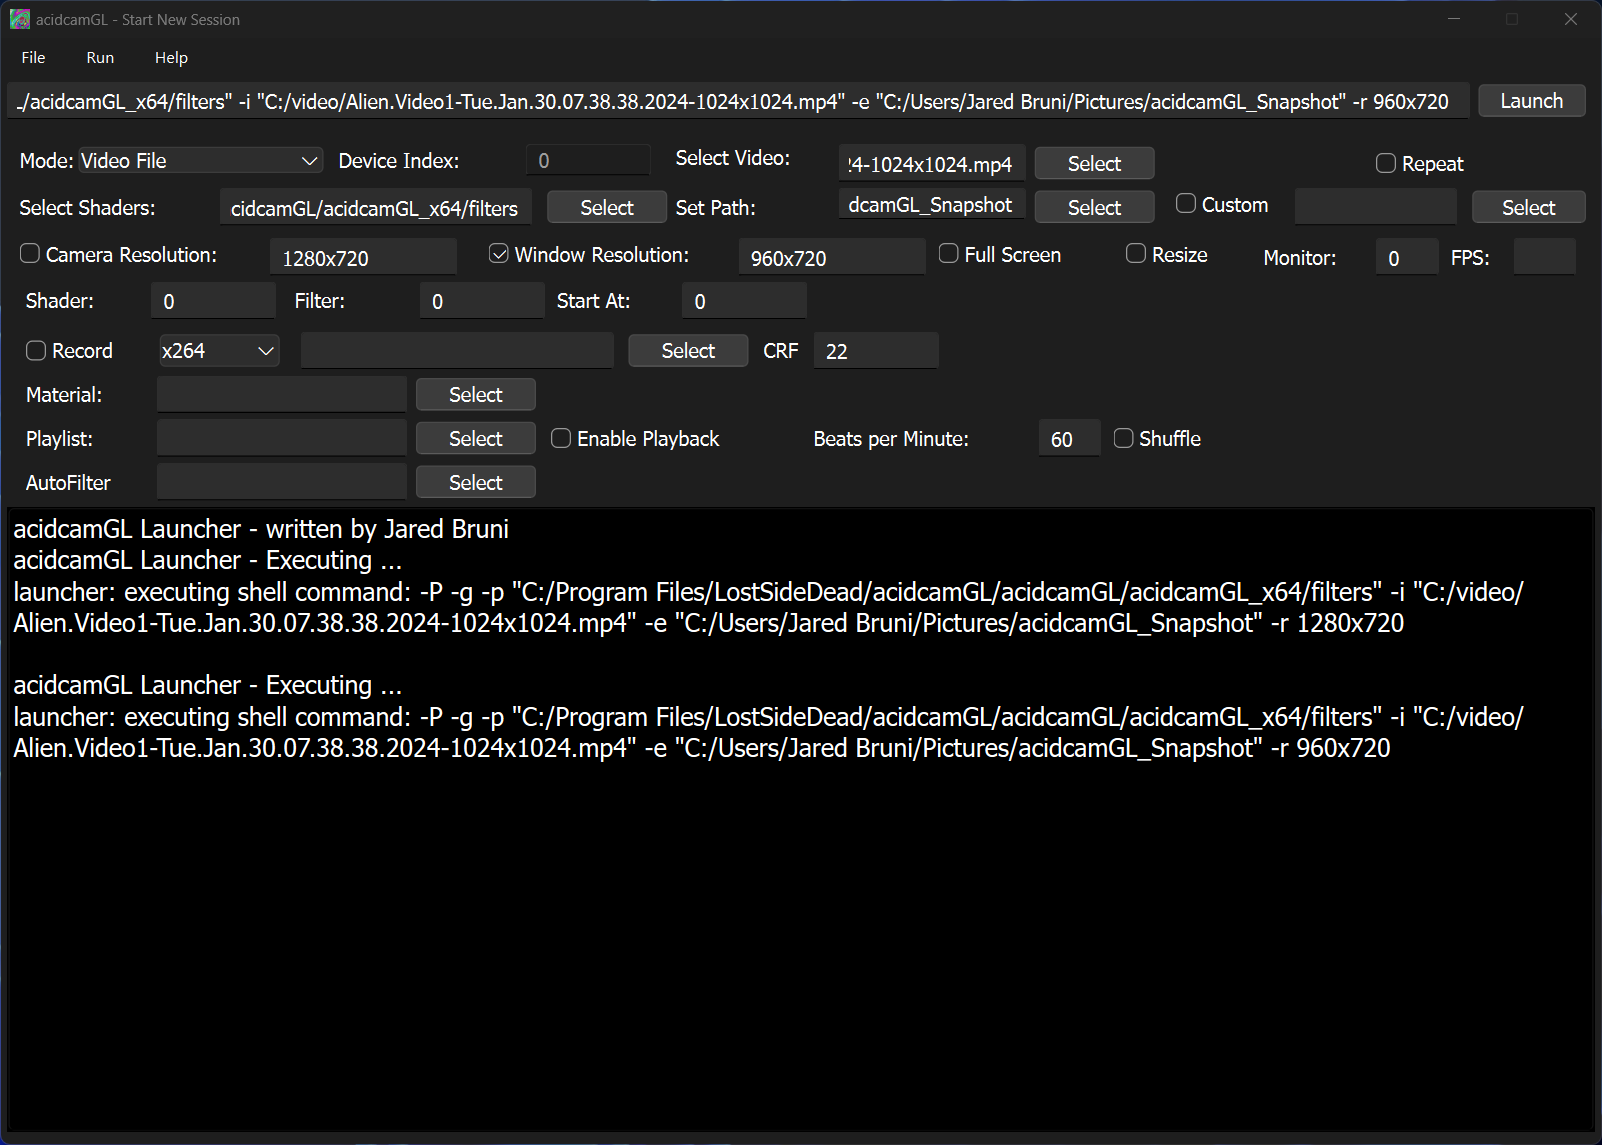
- The Windows version provides a graphical user interface for launching the application.
If downloading the Windows setup, be sure to update to the most up-to-date shaders by downloading the project source code and copying the files in the filter/ directory into the same directory in the installation folder. Otherwise, you will be using an outdated list of default filters. The default folder for installation is:
C:\Program Files\LostSideDead\acidcamGL\acidcamGL\acidcamGL_x64
So the shaders directory is:
C:\Program Files\LostSideDead\acidcamGL\acidcamGL\acidcamGL_x64\filters
Requirements
Update: To compile with MIDI support (this is still in development), install rtmidi on Debian. It's called:
librtmidi-dev
make -f Makefile.midi.linux
sudo make -f Makefile.midi.linux install
Or on macOS use:
make -f Makefile.midi
sudo make -f Makefile.midi install
To Configure Your MIDI Controller, Follow These Steps:
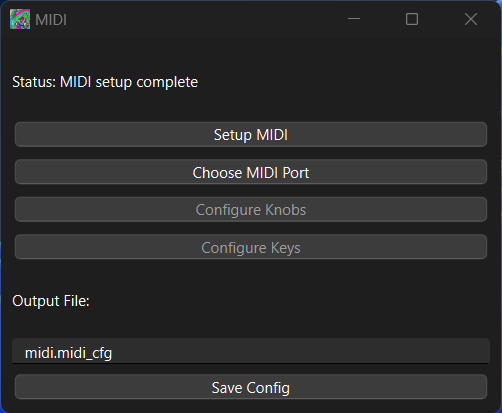
- Compile and run the
midi-cfgconfiguration tool in the source code sub-directorymidi-cfg/or download the Windows EXE from releases. - Use the tool to configure your MIDI controller.
On Windows:
- Copy the outputted configuration file,
midi.midi_cfg, to your application directory.
On Linux/MacOS:
- Set the environment variable by running the following command to point to the location of
midi.midi_cfg:
export AC_MIDI=/Users/jared/acidcamGL/midi.midi_cfg- Run the application as normal.
Your MIDI controller should now be configured and ready for use with the program. Be sure to run the correct acidcamGL program, as the Linux and macOS Makefiles give the program different names.
How to Compile on macOS:
This project requires libacidcam, GLFW, GLEW, OpenGL, OpenCV, and FFmpeg.
First, install Homebrew: https://brew.sh
Then install GLFW, GLEW, OpenGL, OpenCV, FFmpeg:
brew install glfw3 glew opencv ffmpegDepending on what you have installed, this could take quite some time. You can choose to statically compile.
Next, download libacidcam:
git clone https://github.com/lostjared/libacidcam.gitEnter the directory:
cd libacidcamCreate a build directory:
mkdir build && cd buildConfigure the project:
cmake ..Build the project:
make -j4Install the project:
sudo make installNext, download acidcamGL:
git clone https://github.com/lostjared/acidcamGL.gitEnter the directory:
cd acidcamGLCreate a build directory:
mkdir build && cd buildConfigure the project:
cmake ..Build the project:
make -j4Install it:
sudo make installFor macOS static build with Syphon, enter the macos-static directory and:
make -j4You will still need to use install_name_tool on an app bundle. See copy.sh for how to do it.
How to Compile on Linux
First, install the required libraries.
For Linux builds with Desktop capture support (only Xorg, not Wayland), enter the source directory and:
make -f Makefile.linux && sudo make -f Makefile.linux installOtherwise, follow the same instructions as macOS: clone libacidcam, compile it, install it, clone acidcamGL, compile it, and install it.
Running the Program
Run the program. It's recommended to first export the shell variable SHADER_PATH with the path to filters. Example:
export SHADER_PATH=/home/jared/acidcamGL/filtersOr pass the path when executing the program:
acidcamGL -g -p ../filtersThe source/plugin directory contains some test files I have been working on.
Defaults
The default resolution is:
Camera: 1280x720
FPS: 24
Window Size: 1280x720
You can change that using arguments passed to the program.
Arguments
-A <autofilter file>: Specify an autofilter file to use.-X <codec>: Set the codec for video encoding.-o <output filename>: Define the output filename for the video.-S <filter start index>: Set the starting index for filters.-H <shader start index>: Specify the starting index for shaders.-Z <Starting filter by Name>: Specify the starting filter by its name.-C <set color map>: Set the color map.-T <set material texture filename>: Specify the material texture filename.-s <image output format>: Set the image output format (e.g., png, jpg).-N <playlist slideshow timeout>: Set the playlist slideshow timeout.-k <shortcut-key file>: Specify the shortcut-key file.-L <playlist of filters>: Specify a playlist of filters.-b: Restore black in the output.-g: Output debug strings.-u <fps>: Set the frames per second for the video.-n: Print the name of the currently applied filter.-e <snapshot prefix>: Set the prefix for snapshot filenames.-p <shader path>: Specify the path to the shader files.-M <monitor index>: Select the monitor index for fullscreen mode.-f: Enable fullscreen (resize to fit).-F: Enable fullscreen (windowed mode).-d <capture device>: Specify the capture device.-i <input_video.mp4>: Specify the input video file.-R: Loop input video.-x <Stereo Mode>: Enable stereo mode.-r <resolution 1920x1080>: Set the resolution.-c <Camera resolution 1280x720>: Set the camera resolution.-G: Enable screen capture mode.-Y: Enable Syphon Server (macOS only).-U <Screen Capture Position X,Y>: Set the screen capture position.-P: Redirect standard output to socket.-W <custom filter path>: Specify a custom filter path.-B: Enable playback filter mode.-q: Shuffle playlist.-w <beats per minute for shuffle>: Set beats per minute for shuffle mode.-l: List filters.-t: List filters without additional information.-v: Display the version information.-4: Enable FFmpeg x264 support.-5: Enable FFmpeg x265 support.-m <crf for x265 for video mode>: Specify the CRF for x265 encoding mode.-1 <ffmpeg path>: Set the path to the FFmpeg executable.-7 <video start offset in seconds>: Set the video start offset in seconds.-3 <Plugin Path>: Specify the plugin path.-9 <Number of threads>: Set the number of threads for processing.-8 <Set Max Allocated Frames>: Set the maximum number of allocated frames.--mux <outputted_file source_file>: Mux audio (copy audio) from the source file to the outputted file.--list: Display the list of available capture devices.--rotate <src output>: Rotate the source video and output.
Environment Variables
SHADER_PATH: Path to shaders.AC_PLUGIN_PATH: Path to compiled plugins.AC_CUSTOM_PATH: Path to custom filter stack text files.FFMPEG_PATH: Path to ffmpeg executable.AC_MIDI: Path to midi_cfg file.
Keyboard Input
L: Enable/disable playlist.N: Set index to the end.P: Reset index to zero.K: Jump forward index by 25.J: Jump backward index by 25.Z: Take a screenshot.H: Shuffle Playlist.[SHIFT]+H: AutoFilter Shuffle Lock On/Off.M: Enable/Disable Playlist Slideshow random timeout.F: Process keyboard input for index.S: Process keyboard input for shader.C: Clear keyboard input.[+]: Increase blend percentage.[-]: Decrease blend percentage.[SPACE]: Toggle Acid Cam filters on/off.[SHIFT]+[SPACE]: Toggle AutoFilter on and off.[LEFT]: Move filter index left.[RIGHT]: Move filter index right.[SHIFT+LEFT]: Time move backward.[SHIFT+RIGHT]: Time move forward.[SHIFT+2]: Toggle time manipulation on/off.[SHIFT+3]: Restore to current time.[UP]: Move Shader Index up.[DOWN]: Move Shader Index down.[ENTER]: Jump to currently typed index (type index with number keys at any time).[SHIFT]+[ENTER]: Release Stored Frames.[PAGEUP]: Store Index Position.[PAGEDOWN]: Restore Position Index.Q, Q, E, R, Y, U, I, O: Move movement rate.T: Reset color offset.
Run the Program:
You will need to either set the SHADER_PATH environment variable or pass the path to the shaders when executing the program with the -p argument. Each shader is listed in an index.txt file in the order you want the program to cycle through them. The program comes with over 100 example shaders.
Example exporting the environment variable:
export SHADER_PATH=/Users/jared/Downloads/acidcamGL/filtersLaunch Webcam Device:
acidcamGL -d 0 -g -p filtersLaunch Filepath
acidcamGL -i file_path -g -p filtersIf your device has a smaller amount of RAM, set the memory pool size in frames. Examples:
acidcamGL -i file_path -g -8 100or
acidcamGL -i file_path -g -8 500Full-Screen Monitor 0
acidcamGL -g -p filters -F -M 0or Monitor 1:
acidcamGL -g -p filters -F -M 1Windowed Mode 1920x1080 Camera/Window
acidcamGL -g -p filters -c 1920x1080 -r 1920x1080Windowed Mode 1920x1080 Camera 1280x720
acidcamGL -g -p filters -c 1280x720 -r 1920x1080Default Windowed Mode:
acidcamGL -g -p filtersDefault Fullscreen (Resize) Mode:
acidcamGL -g -p filters -fDefault FullScreen (Windowed) Mode:
acidcamGL -g -p filters -FUse Webcam Device by Index:
acidcamGL -g -p filters -d 1Use Different Frames Per Second:
acidcamGL -g -p filters -u 30Or (if supported by your USB 3.0 Webcam):
acidcamGL -g -p filters -u 60Or even better:
acidcamGL -g -p filters -u 60 -c 1920x1080 -r 1920x1080Use Video File as Input:
acidcamGL -g -p filters -i file.mp4Record to MP4 File:
acidcamGL -g -p filters -i file.mp4 -h -o outfile.mp4Record as x264 Using FFmpeg:
acidcamGL -g -p filters -i file.mp4 -4 -o output.mp4Record as x265 Using FFmpeg
acidcamGL -g -p filters -i file.mp4 -5 -o output.mp4List All Included Filters by Index:
acidcamGL -lJump to Location in Video File by Seconds
acidcamGL -g -p filters -i file.mp4 -7 25Key Shortcut Format:
In a text file, add each line for the desired key shortcuts in this format:
key filter_index shader_index
An example file would be:
F 75 0
Q 25 7
If you saved this to keys.key, you would use it with the -k key like this:
acidcamGL -g -p filters -k keys.keyPlaylist File:
Use:
acidcamGL -lThe playlist now uses string names versus ID identifiers. To list the different filters, list them one after the other in a text file line by line like this:
StrobeEffect
SelfAlphaBlend
Save the file, then when in the program, press the L key to toggle the playlist on and off and use the arrow keys to move through the list. To use the playlist file, it's the same as the keys, just with use:
acidcamGL -L playlist.txt -g -p filtersAfter Enabling Plugins (Used for Testing)
With the shell variable pointing to a path and having the list of plugins in index.txt, load one from the command line using:
acidcamGL -g -p filters -Z plugin.acidcamThe project comes with some example test plugin files in the acidcamGL/source/plugin folder. To compile these, enter the directory and type:
makeThis will install the examples in this tree under acidcamGL/plugin. To export these after compiling them, use:
export AC_PLUGIN_PATH=/path/to/acidcamGL/pluginAdd the export commands to your .bash_profile to avoid issuing them every time you start a new session in the terminal.
To Use Stereo Mode:
Have two webcams of the same type and use:
acidcamGL -d camera1_index -6 camera2_index -g -p ./filters -c 1280x720 -r 1280x720 -u 30This will use camera1-index as the left eye and camera2-index as the right eye with a resolution of 1280x720 at 30 fps.
You can also turn a regular video into stereo mode by using the -x argument:
acidcamGL -i file.mp4 -g -xOr press the '1' key to toggle stereo on and off.
Press < and > to shuffle through different Color Maps.